Quickstart
Generate your first SVG with the QuiverAI API, save it as a file, and open it in your browser.
Create a compass icon with Arrow 2 through the Responses API and save the result as compass.svg.
This guide makes real, billable requests with a Production key. The API Platform’s
built-in Quickstart uses a separate Test-key sandbox.
If you want to create directly in the QuiverAI App, start with the App docs.
Prepare your project
Sign in to the API Platform and choose or create the project that will own the integration.
Check that your organization has sufficient funding in Billing. Ask a member with billing management permission to add funding if needed. See API pricing for charges.
Create and store an API key
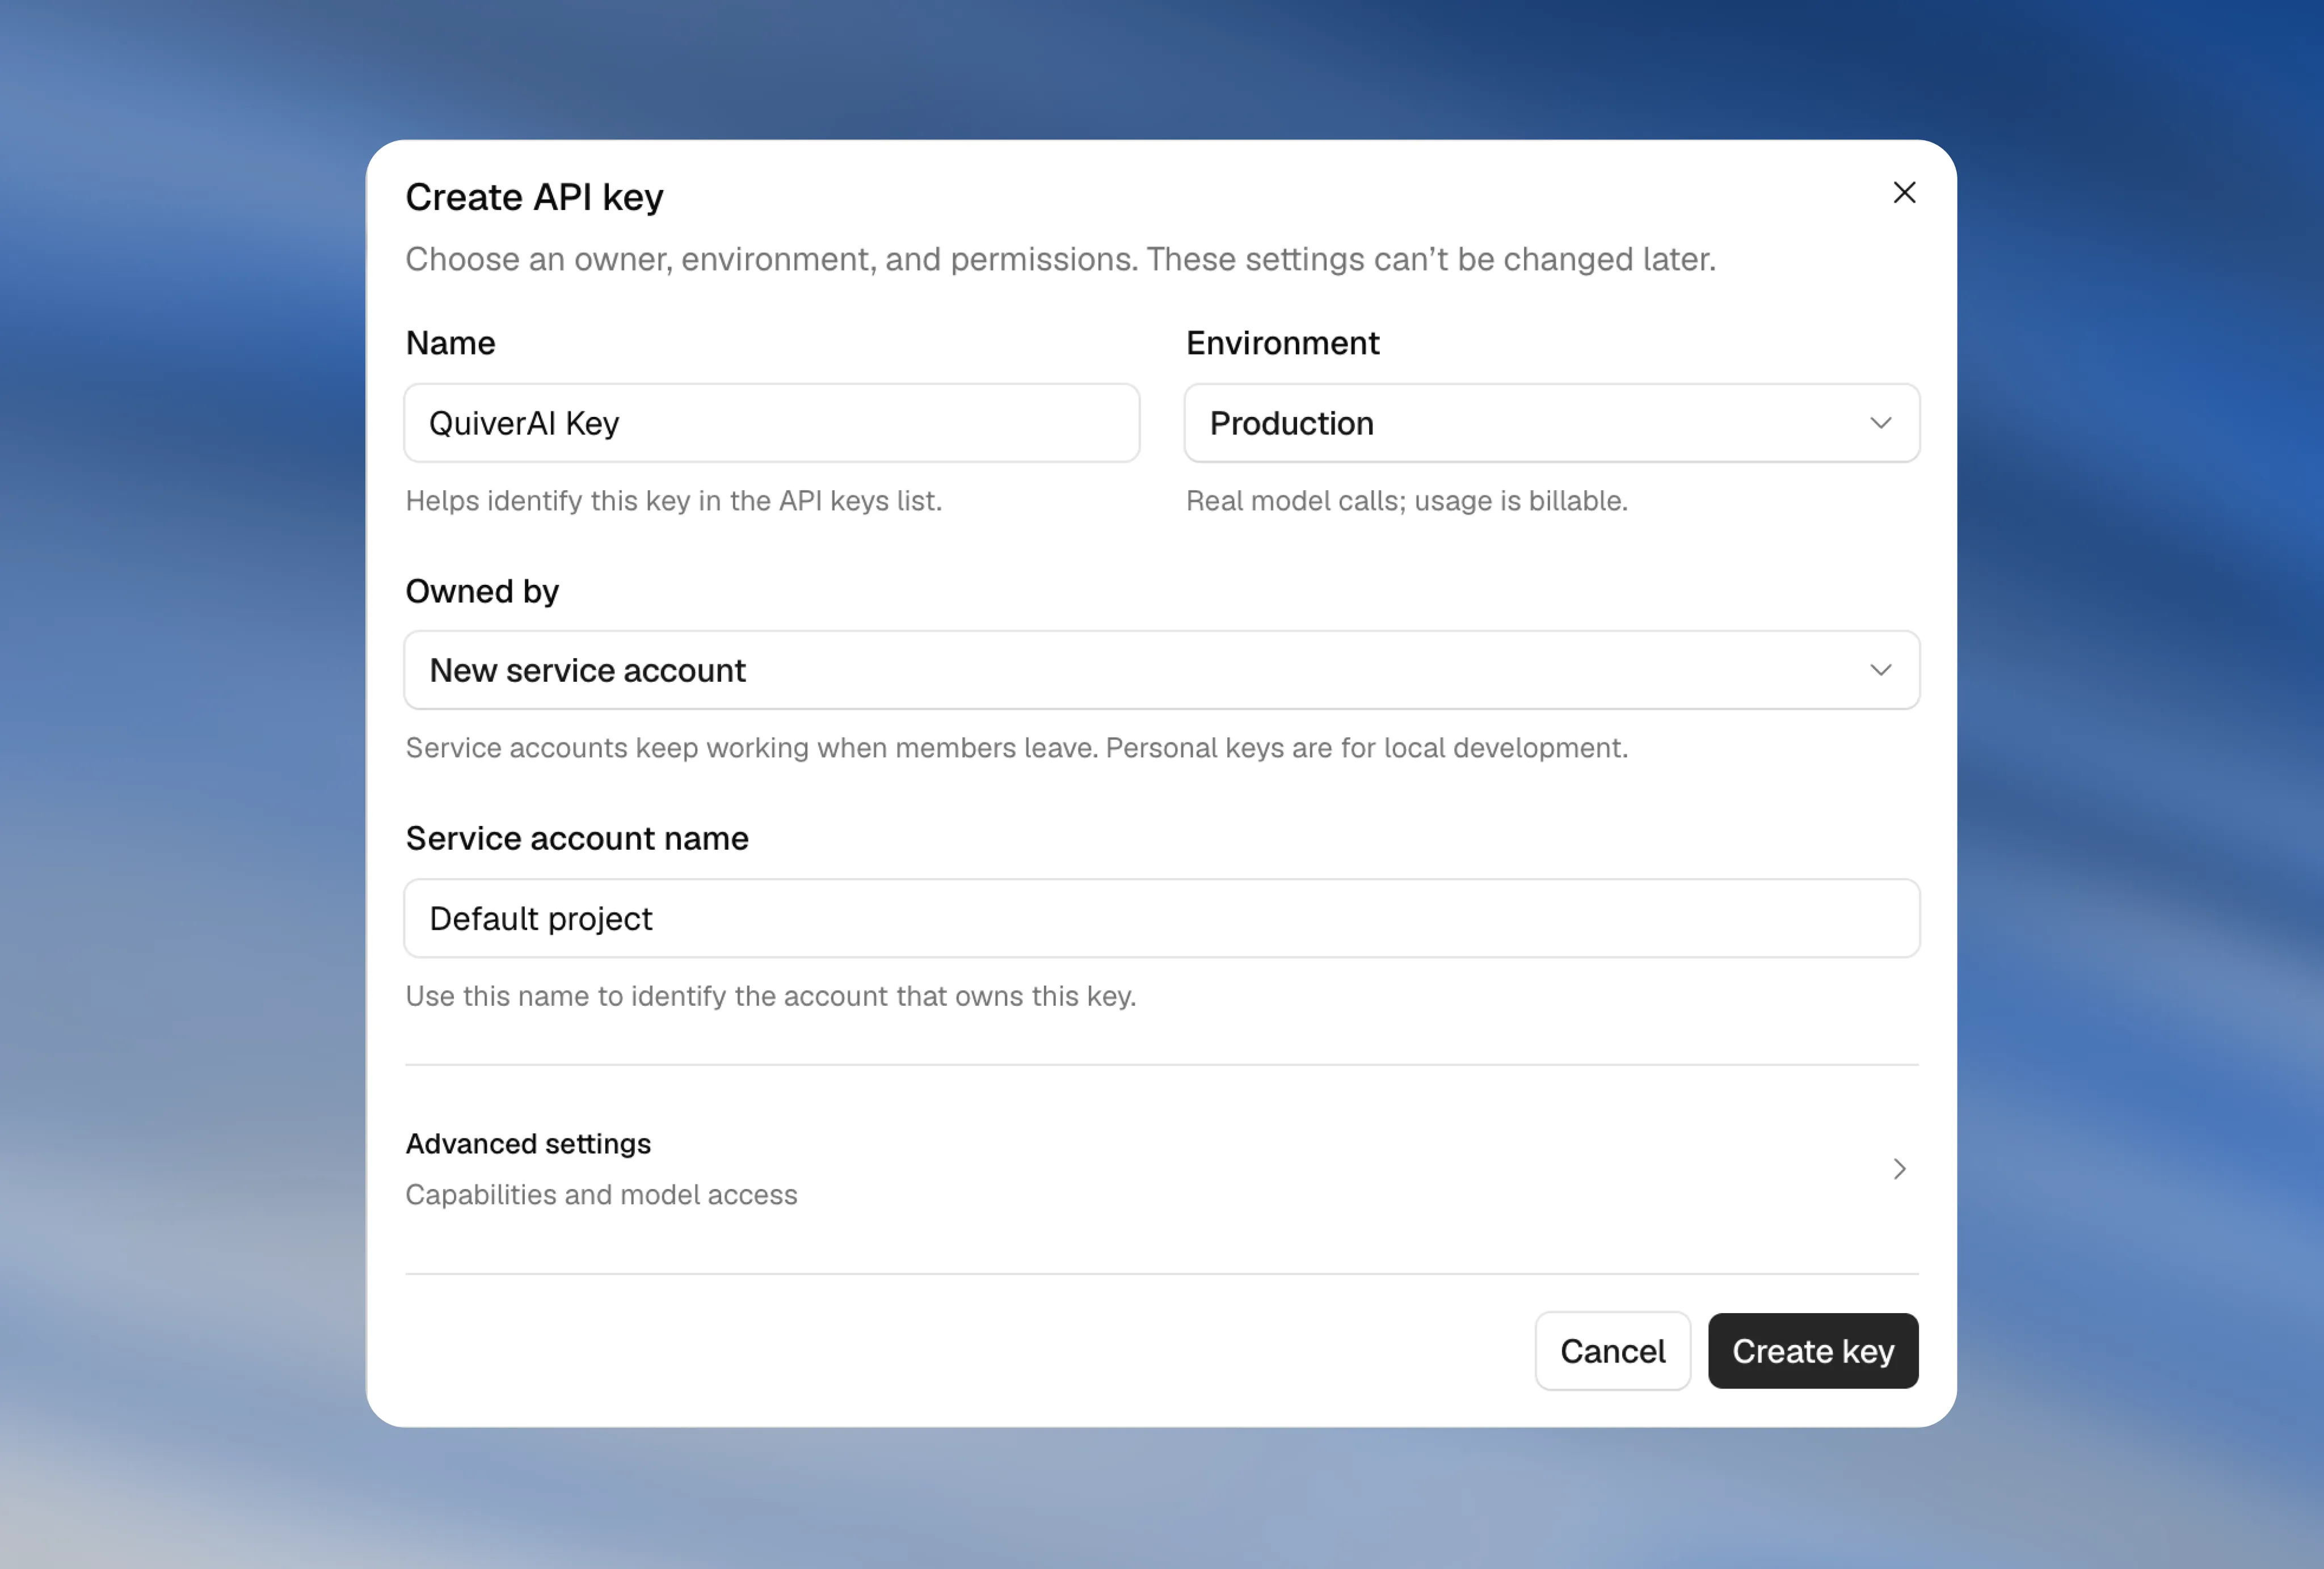
Create a Production key for your project in
API Keys. Allow Model catalog and Responses
(catalog_read) and the model you will use. This Responses example does not require a native
SVG capability. A test key would answer this call from the
sandbox instead of a model.
Copy the secret immediately; it is shown only once. Keep it server-side and never commit it to source control. Set it in the terminal where you will run the example:
export QUIVERAI_API_KEY="<your-key>"$env:QUIVERAI_API_KEY="<your-key>"Check model availability
Read the catalog available to your organization. Use cURL 7.76 or later:
curl --fail-with-body https://api.quiver.ai/v1/models \
  --header "Authorization: Bearer $QUIVERAI_API_KEY"
curl.exe --fail-with-body https://api.quiver.ai/v1/models `
--header "Authorization: Bearer $env:QUIVERAI_API_KEY"Continue when data contains a model with id: "arrow-2" and
"open_responses" in its supported_operations list. Your key must also allow that model;
appearing in the catalog does not grant the key access.
If that model and operation are unavailable, use an authorized native model with the
Text to SVG or Image to SVG
guide instead. Those guides include the official @quiverai/sdk examples. Native requests also
require the corresponding key capability, such as Generate SVGs.
Generate and save an SVG
Responses returns tool calls for your application to handle. This example declares a
write_file function that stages the latest SVG in memory, reports each tool result back to
Arrow, and saves compass.svg only after a completed response has no more tool calls.
The endpoint is stateless. The example sends store: false and replays input history on each
turn rather than continuing from a stored response ID. See
Current limitations for supported
transports and request options.
Use Node.js 22 or later. No packages are required. Save this as generate.mjs:
import { writeFile } from "node:fs/promises";

const apiKey = process.env.QUIVERAI_API_KEY;
if (!apiKey) throw new Error("Set QUIVERAI_API_KEY before running this example.");

const input = [{
  type: "message",
  role: "user",
  content: "Create a minimal geometric compass icon in blue. Use write_file to stage the complete SVG as compass.svg, then confirm when finished.",
}];
const tools = [{
  type: "function",
  name: "write_file",
  description: "Stage compass.svg content. The caller saves the latest staged version after you finish.",
  parameters: {
    type: "object",
    properties: { path: { type: "string" }, content: { type: "string" } },
    required: ["path", "content"],
    additionalProperties: false,
  },
  strict: false,
}];
let svg;
let finished = false;

for (let turn = 0; turn < 5; turn += 1) {
  const response = await fetch("https://api.quiver.ai/v1/responses", {
    method: "POST",
    headers: {
      Authorization: `Bearer ${apiKey}`,
      "Content-Type": "application/json",
    },
    body: JSON.stringify({
      model: "arrow-2",
      input,
      tools,
      tool_choice: turn === 0 ? { type: "function", name: "write_file" } : "auto",
      stream: false,
      store: false,
      parallel_tool_calls: false,
    }),
  });
  if (!response.ok) {
    throw new Error(`Request failed (${response.status}): ${await response.text()}`);
  }
  const result = await response.json();
  if (result.status !== "completed" || result.error || result.incomplete_details) {
    throw new Error(`Generation did not complete (${result.status}). No file was saved.`);
  }
  const calls = result.output.filter((item) => item.type === "function_call");
  if (result.output.some((item) => item.type === "custom_tool_call")) {
    throw new Error("Unexpected custom tool call. No file was saved.");
  }
  if (calls.length === 0) {
    if (!svg) throw new Error("No SVG was staged.");
    await writeFile("compass.svg", svg, "utf8");
    finished = true;
    break;
  }
  for (const item of result.output) {
    if (item.type === "reasoning" && item.id) {
      input.push({ type: "reasoning", id: item.id });
    } else if (item.type === "message" || item.type === "function_call") {
      input.push(item);
    }
  }
  for (const call of calls) {
    if (call.name !== "write_file" || (call.status && call.status !== "completed")) {
      throw new Error("Unexpected or incomplete tool call. No file was saved.");
    }
    const args = JSON.parse(call.arguments);
    if (args.path !== "compass.svg" || typeof args.content !== "string" || !args.content.trim()) {
      throw new Error("Invalid write_file arguments. No file was saved.");
    }
    svg = args.content;
    input.push({
      type: "function_call_output",
      call_id: call.call_id,
      output: JSON.stringify({ path: "compass.svg", staged: true }),
    });
  }
}
if (!finished) throw new Error("Stopped after five requests. No file was saved.");
console.log("Saved compass.svg. Open it in your browser to view the result.");
Run it from the same directory:
node generate.mjsThe example allows at most five API requests, each of which can incur token charges. It keeps intermediate writes out of the filesystem and never uses a model-supplied destination path. An error, incomplete response, or exhausted request limit leaves no new file to publish. See Migrate to Responses for the raw HTTP request and tool-result replay shapes.
Open your SVG
Open compass.svg in your browser or drag it into a vector editor. You should see a blue
compass icon; the exact design varies between requests.
The saved file contains the latest content staged by write_file after the tool loop finishes.
A completed individual tool call can still be followed by a revision; reasoning text and
partial argument deltas are not a finished SVG.
If a request fails or returns no completed SVG, use Errors and debugging to interpret the response.
Next steps
- SDK compatibility: configure Vercel AI SDK or an OpenAI Responses client.
- API Reference: explore request options and response schemas.
- Image to SVG: vectorize an existing image with the native API.
- API Platform: manage your integration’s keys, usage, limits, and data controls.